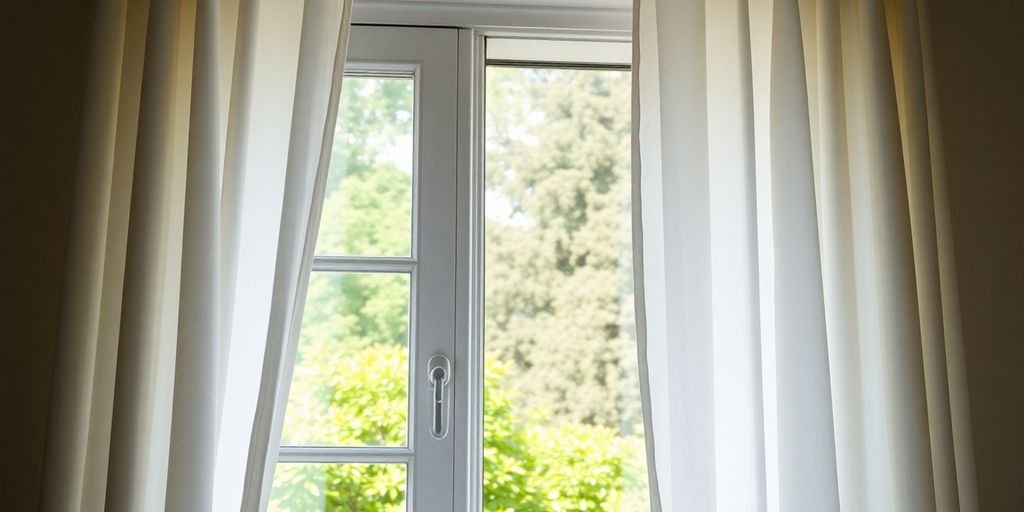
So, you’re thinking about new windows, huh? Maybe you’ve heard a bit about casement windows and are wondering if they’re actually worth it. Well, let me tell you, these aren’t just any old windows. Casement windows have some pretty cool features that make them stand out from the crowd. They open up in a unique way and can really change how your home feels. We’re going to break down why these windows might be a great choice for your place.
Key Takeaways
- Casement windows let in a ton of fresh air and help keep your home feeling breezy.
- You get clear, wide-open views with casement windows because there’s no middle bar.
- These windows are really good at saving energy, which can help with your utility bills.
- They’re super easy to open and close, even in those tricky spots.
- Casement windows come with solid locks, making your home more secure.
Enhanced Ventilation and Airflow

One of the biggest advantages of casement windows is how well they let air circulate. I remember when we first installed ours; it was like night and day compared to the old windows. The difference in airflow was immediately noticeable.
Optimal Air Circulation
Casement windows are hinged on the side and swing outward, which means they can open fully. This full opening allows for maximum ventilation, unlike some other window types that only open partially. It’s like having a wide-open door for fresh air. This design really helps to get air moving through the house, which is great for those stuffy summer days.
Catching Breezes
Because they swing outward, casement windows are excellent at catching breezes. They can actually scoop the wind and direct it into your home. We live in an area where the wind is often blowing from a certain direction, and our casement windows are perfectly positioned to take advantage of that. It’s amazing how much cooler the house stays just by opening them up. If you want to maximize airflow, consider the window placement when installing them.
Improved Indoor Air Quality
Good ventilation isn’t just about comfort; it’s also about air quality. Stale, stagnant air can trap pollutants and allergens inside. Casement windows help to flush out that old air and bring in fresh air, which can make a big difference for people with allergies or respiratory issues. Plus, it just feels healthier to have a constant flow of fresh air circulating.
I’ve noticed a significant reduction in dust and stuffiness since we switched to casement windows. It’s like the house can finally breathe. I didn’t realize how much of a difference it would make, but it’s been a game-changer for our indoor environment.
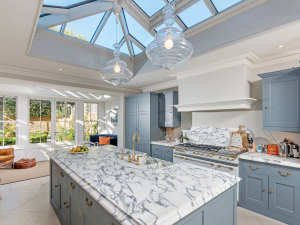
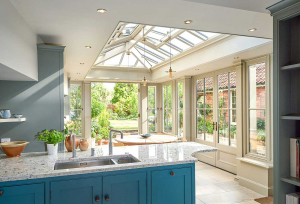
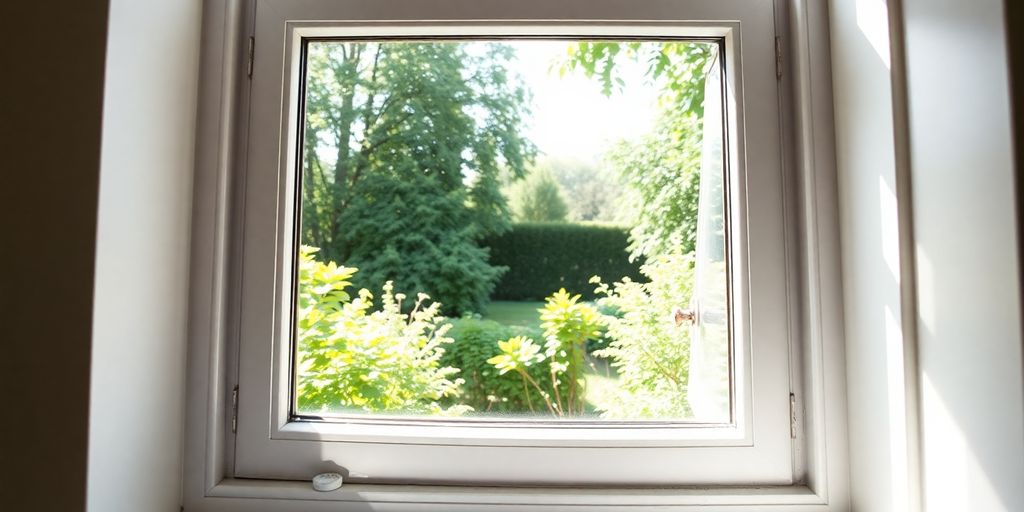
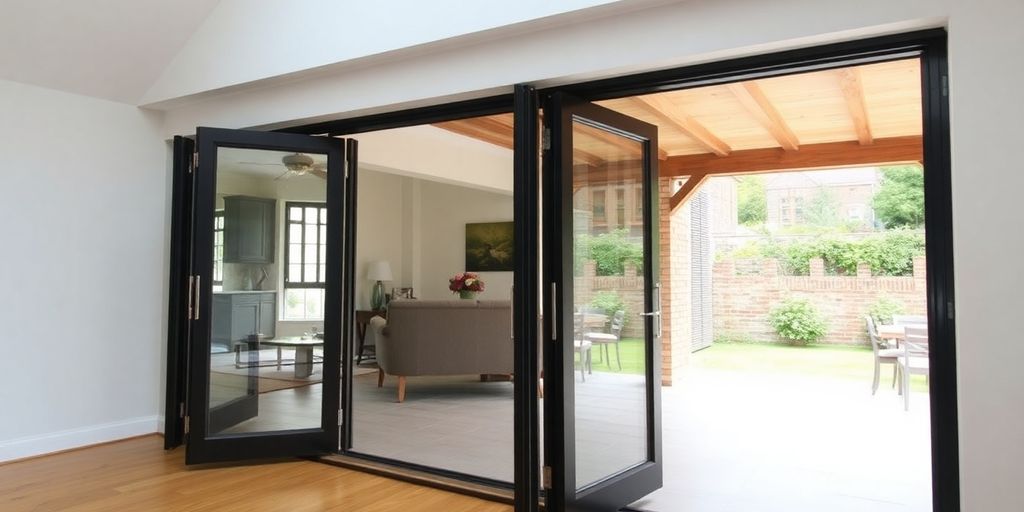
Unobstructed Views and Natural Light
Casement windows really shine when it comes to letting the outside in. I mean, who doesn’t love a room flooded with sunlight? And being able to see your yard without a bunch of window frame in the way? It’s a game changer. They can really open up a space and make it feel bigger and brighter.
Panoramic Scenery
The big selling point here is the lack of obstructions. Unlike some other window styles, casement windows don’t have that vertical bar running down the middle. This means you get a much wider, clearer view of whatever’s outside. It’s like having a picture frame for your yard, or the city skyline, or whatever view you’re lucky enough to have. It just makes the whole experience of looking out the window way more enjoyable.
Maximized Light Entry
More glass equals more light, plain and simple. Casement windows are designed to have large panes of glass, which means they let in a ton of natural light. This is great for a few reasons. First, it makes your house feel more cheerful and inviting. Second, it can actually save you money on your electricity bill because you won’t have to turn on the lights as often. And third, natural light is just good for your mood! It can help you feel more awake and productive. If you want to maximize light entry, consider window replacement with casement styles.
Slim Frame Options
If you really want to take the unobstructed view thing to the next level, you can opt for casement windows with slim frames. These frames are designed to be as minimal as possible, so they don’t block your view. It’s like the window frame almost disappears, and all you see is the outside world. Plus, slim frames can give your house a more modern and stylish look.
I remember when my neighbor installed new casement windows with slim frames. It completely transformed the look of their house. Suddenly, their living room felt so much bigger and brighter, and the view of their garden was just stunning. It made me seriously consider upgrading my own windows!
Here’s a quick comparison of frame sizes:
| Frame Type |
Average Width (inches) |
| Standard |
2.5 – 3.5 |
| Slim |
1.5 – 2.0 |
Superior Energy Efficiency
Casement windows aren’t just about looks; they can seriously help with your energy bills. I mean, who doesn’t want to save a few bucks, right?
Airtight Seal
The way casement windows are designed, they create a super tight seal when they’re closed. Think about it: the window sash presses right up against the frame. This means less air leaking in or out, which is a big deal. It’s like having an extra layer of insulation. This is why casement windows are energy-efficient.
Reduced HVAC Costs
Less air leakage translates directly into lower heating and cooling costs. During the summer, you’re not paying to cool the outside, and in the winter, you’re not heating the neighborhood. It’s a win-win. Plus, you’re putting less strain on your HVAC system, which could extend its lifespan. Here’s a quick look at potential savings:
- Reduced energy consumption
- Lower monthly bills
- Extended HVAC lifespan
Advanced Glazing Options
But wait, there’s more! You can boost the energy efficiency even further with advanced glazing options. Low-E coatings, for example, reflect heat away in the summer and keep heat inside during the winter. Double- or triple-paned windows add extra layers of insulation. It’s like upgrading to a super-efficient model. You can also explore different types of window installation to maximize the benefits.
Choosing the right glazing can make a significant difference in your home’s energy performance. It’s worth doing a little research to find the best option for your climate and budget. Think about it as an investment that pays off over time.
Ease of Operation and Accessibility
Casement windows aren’t just about looks; they’re also surprisingly easy to use. I remember struggling with my old windows, especially in the hard-to-reach spots. Switching to casement windows was a game-changer.
Simple Crank Mechanism
The crank mechanism is what makes these windows so user-friendly. Instead of wrestling with a sash, you just turn the handle. It’s smooth and requires minimal effort. My grandma loves hers because she can open and close them without straining her arms. It’s a simple design that makes a big difference.
Ideal for Hard-to-Reach Areas
Have you ever tried opening a window above the kitchen sink? It’s a pain! Casement windows solve this problem. Because of the crank, you don’t have to lean over or stretch awkwardly. This makes them perfect for window installation in those tricky spots around the house. I put one in my bathroom, and it’s so much easier to get fresh air in there now.
User-Friendly Design
Casement windows are designed with everyone in mind. The controls are intuitive, and the operation is smooth. This is especially helpful for people with mobility issues or those who just want a window that’s easy to manage. Plus, you can often find models with longer cranks for even better leverage. It’s all about making life a little easier.
I never thought I’d get excited about windows, but the ease of use with casement windows is a real selling point. It’s one of those things you don’t realize you need until you have it. Makes opening and closing windows a breeze, no matter where they are in the house.
Increased Home Security
Casement windows aren’t just about looks and airflow; they can seriously boost your home’s security. The way they’re designed makes them a tougher target for intruders compared to some other window styles. Let’s get into the specifics.
Embedded Locking Mechanisms
Casement windows often come with hook-shaped locks that are built right into the frame. This design makes it way harder for someone to jimmy the window open from the outside. It’s not just a flimsy latch; it’s a proper locking system that adds a significant layer of protection.
Difficult to Force Open
Because of how they operate with a crank and multiple locking points, casement windows are inherently more resistant to forced entry. Unlike sliding windows, which can sometimes be lifted off their tracks, casement windows are firmly secured when closed and locked. This makes using a crowbar, or similar tool, much more difficult.
Peace of Mind
Knowing your windows are contributing to your home’s security can bring real peace of mind. It’s one less thing to worry about, especially if you live in an area where break-ins are a concern. While no window is completely impenetrable, casement windows offer a solid level of protection that can deter potential intruders.
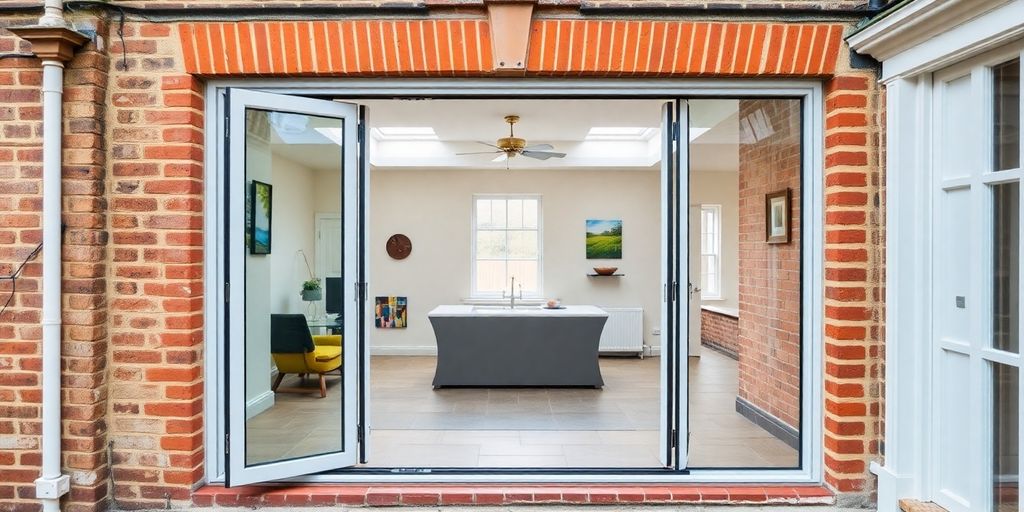
Versatility in Design and Aesthetics
Casement windows aren’t just about function; they also bring a lot to the table when it comes to looks. You can really tailor them to fit your home’s style, whether you’re going for something modern or sticking with a more traditional vibe. They’re like the chameleons of the window world.
Complements Various Architectural Styles
One of the best things about casement windows is how well they blend in with different house designs. Got a cozy cottage? They fit right in. Modern minimalist house? They look great there too. Their simple design makes them super adaptable. It’s all about finding the right finish and hardware to match your home’s existing features. Think about it: a sleek, dark frame for a contemporary look, or a classic white frame for something more traditional.
Customization Options
Want to get specific? Casement windows come with tons of options to make them your own. You can choose different colors, materials, and even grid patterns to match your personal taste.
Here’s a quick rundown of some popular choices:
- Frame Material: Wood, vinyl, aluminum, fiberglass. Each has its own look and benefits.
- Glass Type: Clear, frosted, tinted, or even decorative glass. Think about privacy and light control.
- Hardware: Handles, locks, and hinges in various finishes. It’s the little details that make a big difference.
Customization is key. Don’t be afraid to mix and match to create something that’s uniquely you. It’s your house, after all!
Modern and Traditional Appeal
Casement windows manage to be both modern and timeless at the same time. Their clean lines and simple operation give them a contemporary feel, but they also have a classic charm that never goes out of style. This makes them a solid choice if you’re not sure which way to go with your home’s design. Plus, they can boost your home’s curb appeal without a complete overhaul. They’re a safe bet that still looks great, no matter what.
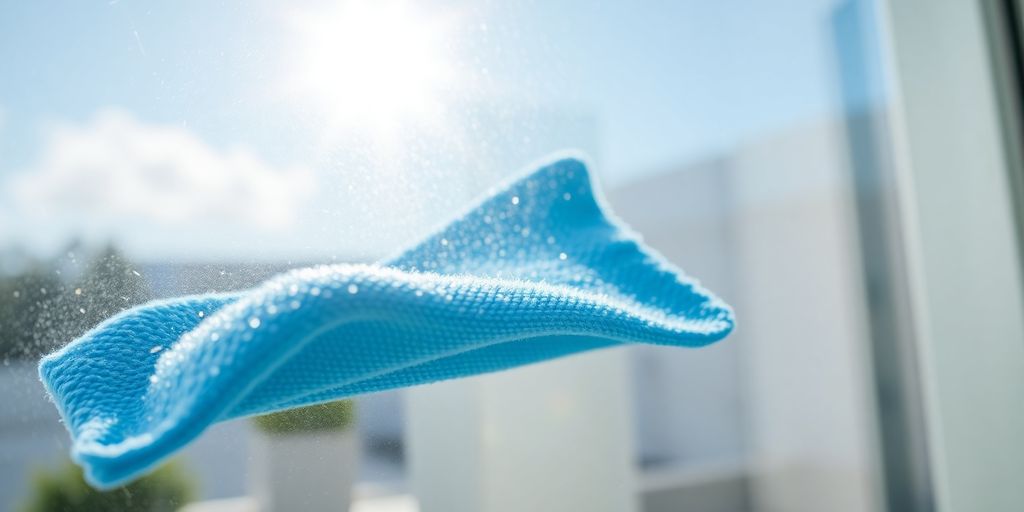
Simple Maintenance and Cleaning
Casement windows? They’re not just about looking good and letting the breeze in. One thing I really appreciate is how easy they are to keep clean. I mean, who wants to spend their weekends wrestling with windows?
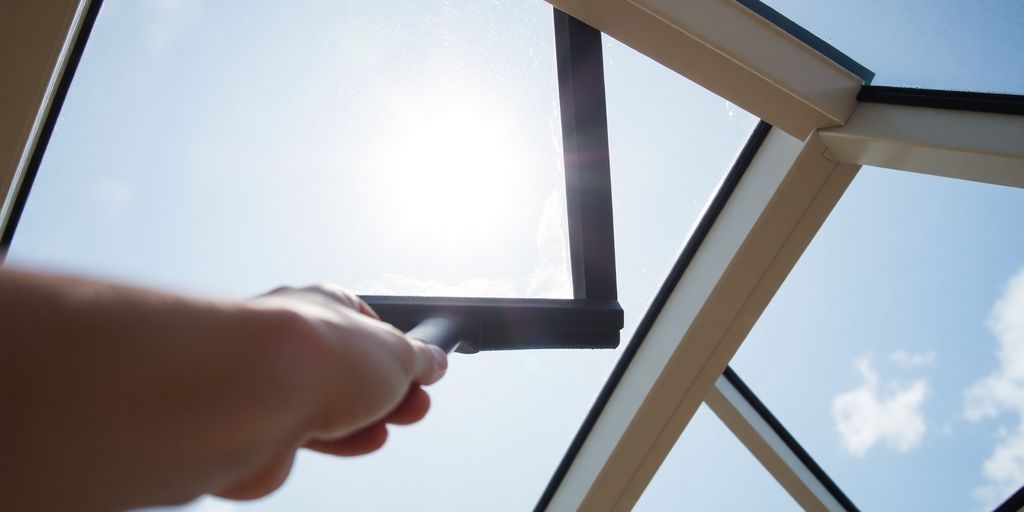
Easy Access to Both Sides
The way casement windows swing open makes cleaning them a breeze. You don’t have to be a contortionist to reach the outside pane. Just crank ’em open and wipe away. It’s so much better than trying to lean out of a double-hung window, trust me.
Reduced Cleaning Effort
Because you can easily reach both sides of the glass, you’re less likely to put off cleaning. And when you do clean, it’s quicker. No more streaks left behind because you couldn’t quite reach that one spot. Plus, you can easily inspect the window for any issues like cracks or failing seals while you’re at it.
Durable Materials
Casement windows are often made with materials that hold up well over time. Vinyl, for example, is pretty low-maintenance. You don’t have to worry about painting or staining it every few years. Just a simple wash with soap and water usually does the trick. Even the hardware tends to be durable, so you’re not constantly replacing cranks or hinges.
I’ve found that a simple routine of wiping down my casement windows every couple of months keeps them looking great. It takes maybe 15 minutes per window, and it makes a huge difference in how much light comes through. Plus, it helps prevent dirt and grime from building up and becoming harder to remove later on.
Wrapping It Up
So, there you have it. Casement windows really do bring a lot to the table for any home. They let in tons of fresh air, give you clear views, and can even help keep your energy bills down. Plus, they’re pretty easy to use and keep clean, which is always a win. If you’re thinking about new windows, these are definitely worth a look. They just make sense for a lot of different reasons.
Frequently Asked Questions
What exactly is a casement window?
Casement windows are a type of window that opens outwards, like a door. They have hinges on one side and are usually opened with a crank. This design lets them open wide, bringing in lots of fresh air and natural light.
Are casement windows good for saving energy?
Yes, they are! When a casement window is closed, its sash (the part that holds the glass) presses tightly against the frame. This creates a very good seal, stopping air from leaking in or out. This helps keep your home warm in winter and cool in summer, which can lower your energy bills.
How well do casement windows help with air circulation?
Casement windows are great for letting in fresh air. Because they can open all the way out, they catch breezes and direct them into your home, helping air move around better than many other window types.
Are casement windows safe from intruders?
Casement windows are quite secure. They often have special hook-shaped locks built into their frames, making it very hard for someone to force them open from the outside. This adds an extra layer of safety to your home.
Is it hard to clean casement windows?
Cleaning casement windows is pretty easy! Since they swing open, you can usually reach both sides of the glass from inside your home. This means less stretching or needing to go outside to clean them.
Can casement windows match my home’s style?
Casement windows work well with many different home styles, from old-fashioned to modern. You can pick different frame colors, materials, and glass types to make them fit perfectly with how your home looks.